A Material Exploration of SCOBY
Written by Dalila Oliver
Many artists working in the intersection of art and science will make the generalization that the art world is not as hospitable as the world of science. Within this lies some truth. I started high school with the intent to study biology and spent my breaks and summers at the local college working with the bio department and research labs. Despite being an outsider, they welcomed me and taught without pretension. Science was made accessible to me. Later in art school, despite there being an engineering sub-school on campus, I felt more disconnected from science than ever.
I came to enjoy growing my own materials to make what could be called BioArt. I wonder if we can explore alternate materiality through science without casting the work off into an underappreciated side category.
I am appreciative of my ability to grow my own materials, creating new relationships to the things I make. Tied in with this idea is indigenous knowledge; alternative ways of making and being. I owe a lot to these alternatives and to the people who have taught them to me.
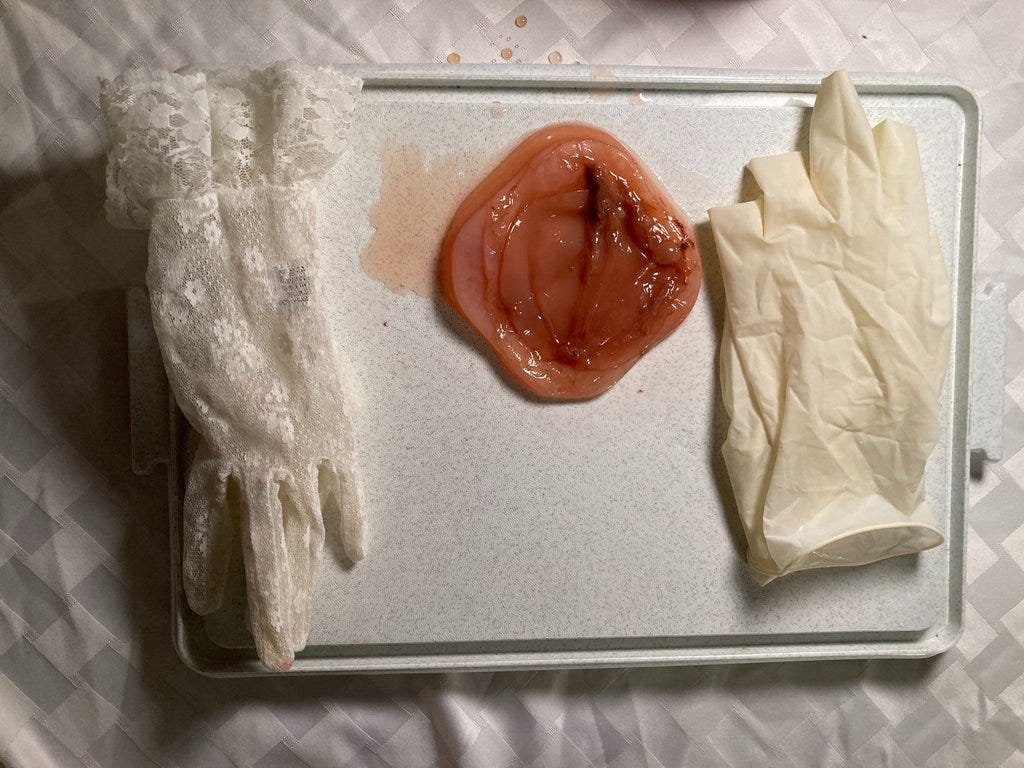
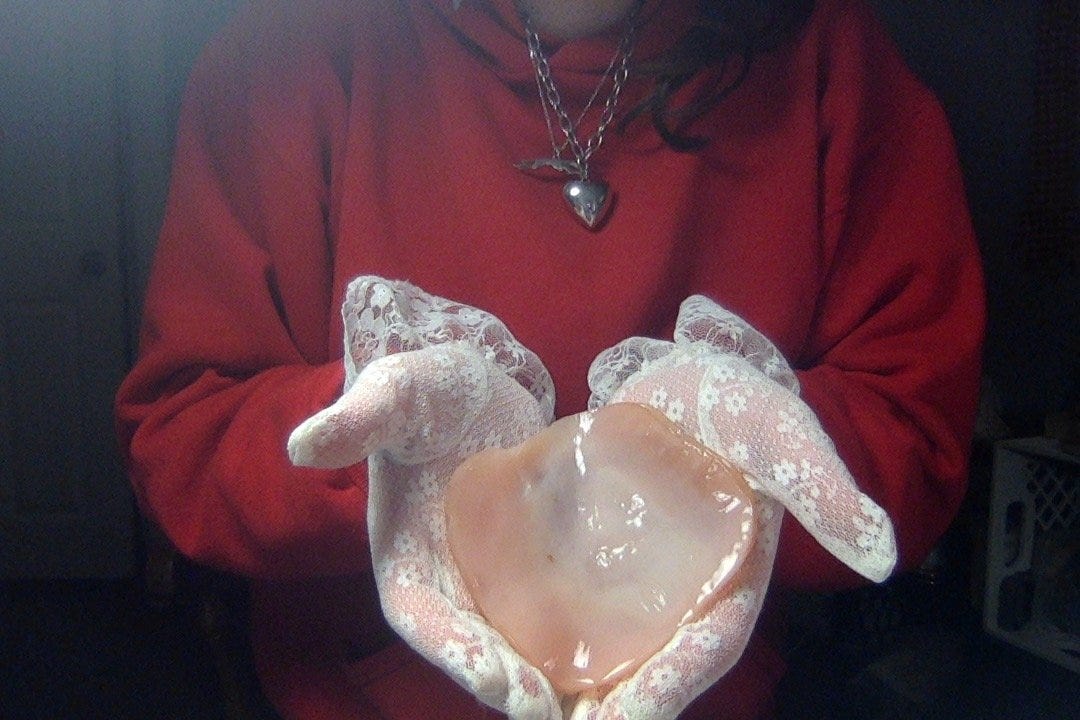
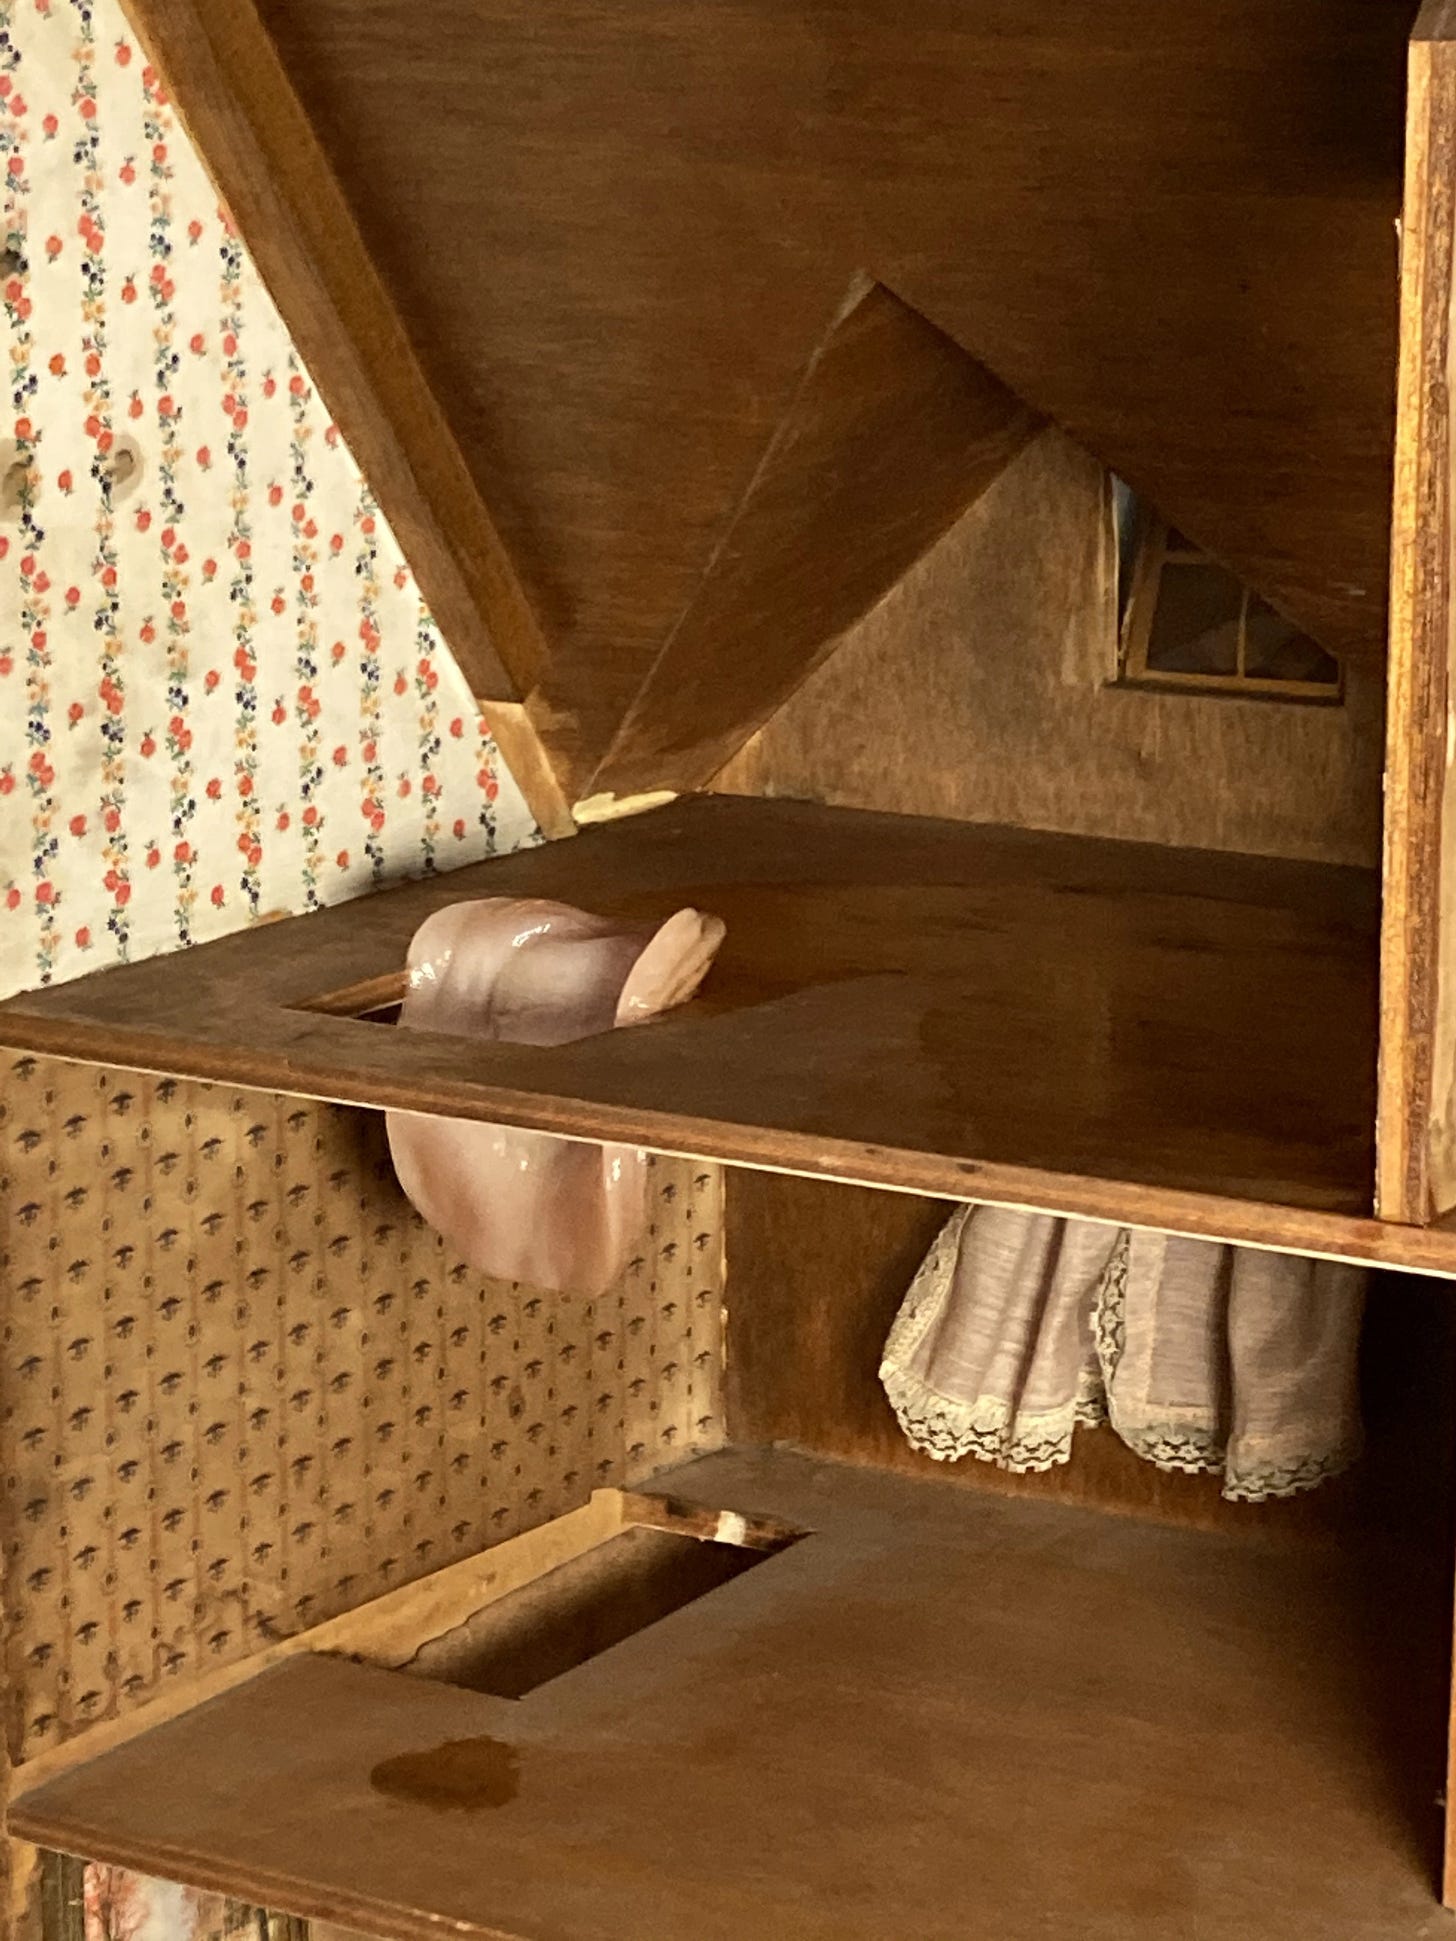
There are countless materials in the BioArt category, SCOBY is just one. SCOBY continues to fascinate many with its multifaceted look and connotations to skin, placenta and the animal world. As a fruitful material that can be grown for relatively cheap, its uses for sculpture, paper, canvas, etc. become all the more attractive.
While kombucha as a drink has been around for over 2000 years, it is unclear when the SCOBY needed to make it started being used for other purposes. The process of sharing your SCOBY or receiving one from someone in your community offers the opportunity for communal building and non-monetary sharing.
The easiest way to make kombucha is to find someone in your community who can share a piece of their SCOBY with you. If this isn’t an option, there are stores that sell them or you can grow them yourself.
Part I: SCOBY Recipe
Ingredients:
3.5 cups water
2 tea bags (I use one green and one black)
¼ cup refined white sugar (look for organic, otherwise chances are it's not vegan)
Materials:
Medium sized jar (I use old pasta sauce jars, etc.)
Coffee filter/paper towel/piece of cloth
Rubber band
½ cup plain store bought kombucha (no flavoring, as it might inhibit the formation of SCOBY)
Steps:
1. Boil the water and brew the tea
2. Add the sugar while the tea is hot, so it will dissolve.
3. Let the tea cool to room temperature and remove the tea bags.
4. Mix cool tea with plain kombucha, trying to ensure the solids from the bottom of the bottle (those are baby scobies) are included.
5. Pour mix into a new jar, the jar should be washed thoroughly (no soap residue or food, etc.)
6. Place coffee filter or cloth over the mouth of the jar and use a rubber band to secure it there.
7.Place jar in a dark and warm place ideally kept around 70°F. (it will still form with slightly colder temps, it might just take longer)
8. Leave jar for 1-3 weeks to allow SCOBY to form
9. SCOBY!
Part II: Kombucha Recipe This can be done once you have a SCOBY. This will be cheaper than buying kombucha at the store and you can invent flavors that you would never find otherwise!
7 cups water
4 bags tea (I use green for increased cellulose production, but not for taste)
1 cup refined vegan sugar
1 SCOBY
1 cup SCOBY liquid
Flavoring (fruit juice or literally anything else)
Steps:
Repeat the process outlined above in steps 1-3 (make the tea and add the sugar while it's hot)
When the mixture is cool, add your SCOBY and cover in the same way with a porous lid and rubber band (keep this closed to avoid attracting fruit flies)
Leave it alone for 7-10 days
Time for a second fermentation!
For the perfect carbonation, you'll need a second fermentation. This will mean transferring the kombucha from a jar with a porous lid to one that is sealed. I usually save my bottles of GT kombucha and use those to bottle my own. If you want the burn your throat kind of fizz, you need to seal your bottles as tight as possible using swing-top bottles or something that creates a real seal. You can also add more sugar, which will increase carbonation.
Remove your SCOBY and put it somewhere safe (it has to be in the liquid it was in before and submerged completely)
Pour your kombucha into bottles that seal ¾ of the way full
Use the remainder of the space to add fruit/vegetable juices and small amounts of sugar (optional)
Seal bottles and leave for 2 to 5 days
Yay!
I’ve made kombucha in the past but my interest really lies in the SCOBY itself; the symbiotic set of organisms that make kombucha.
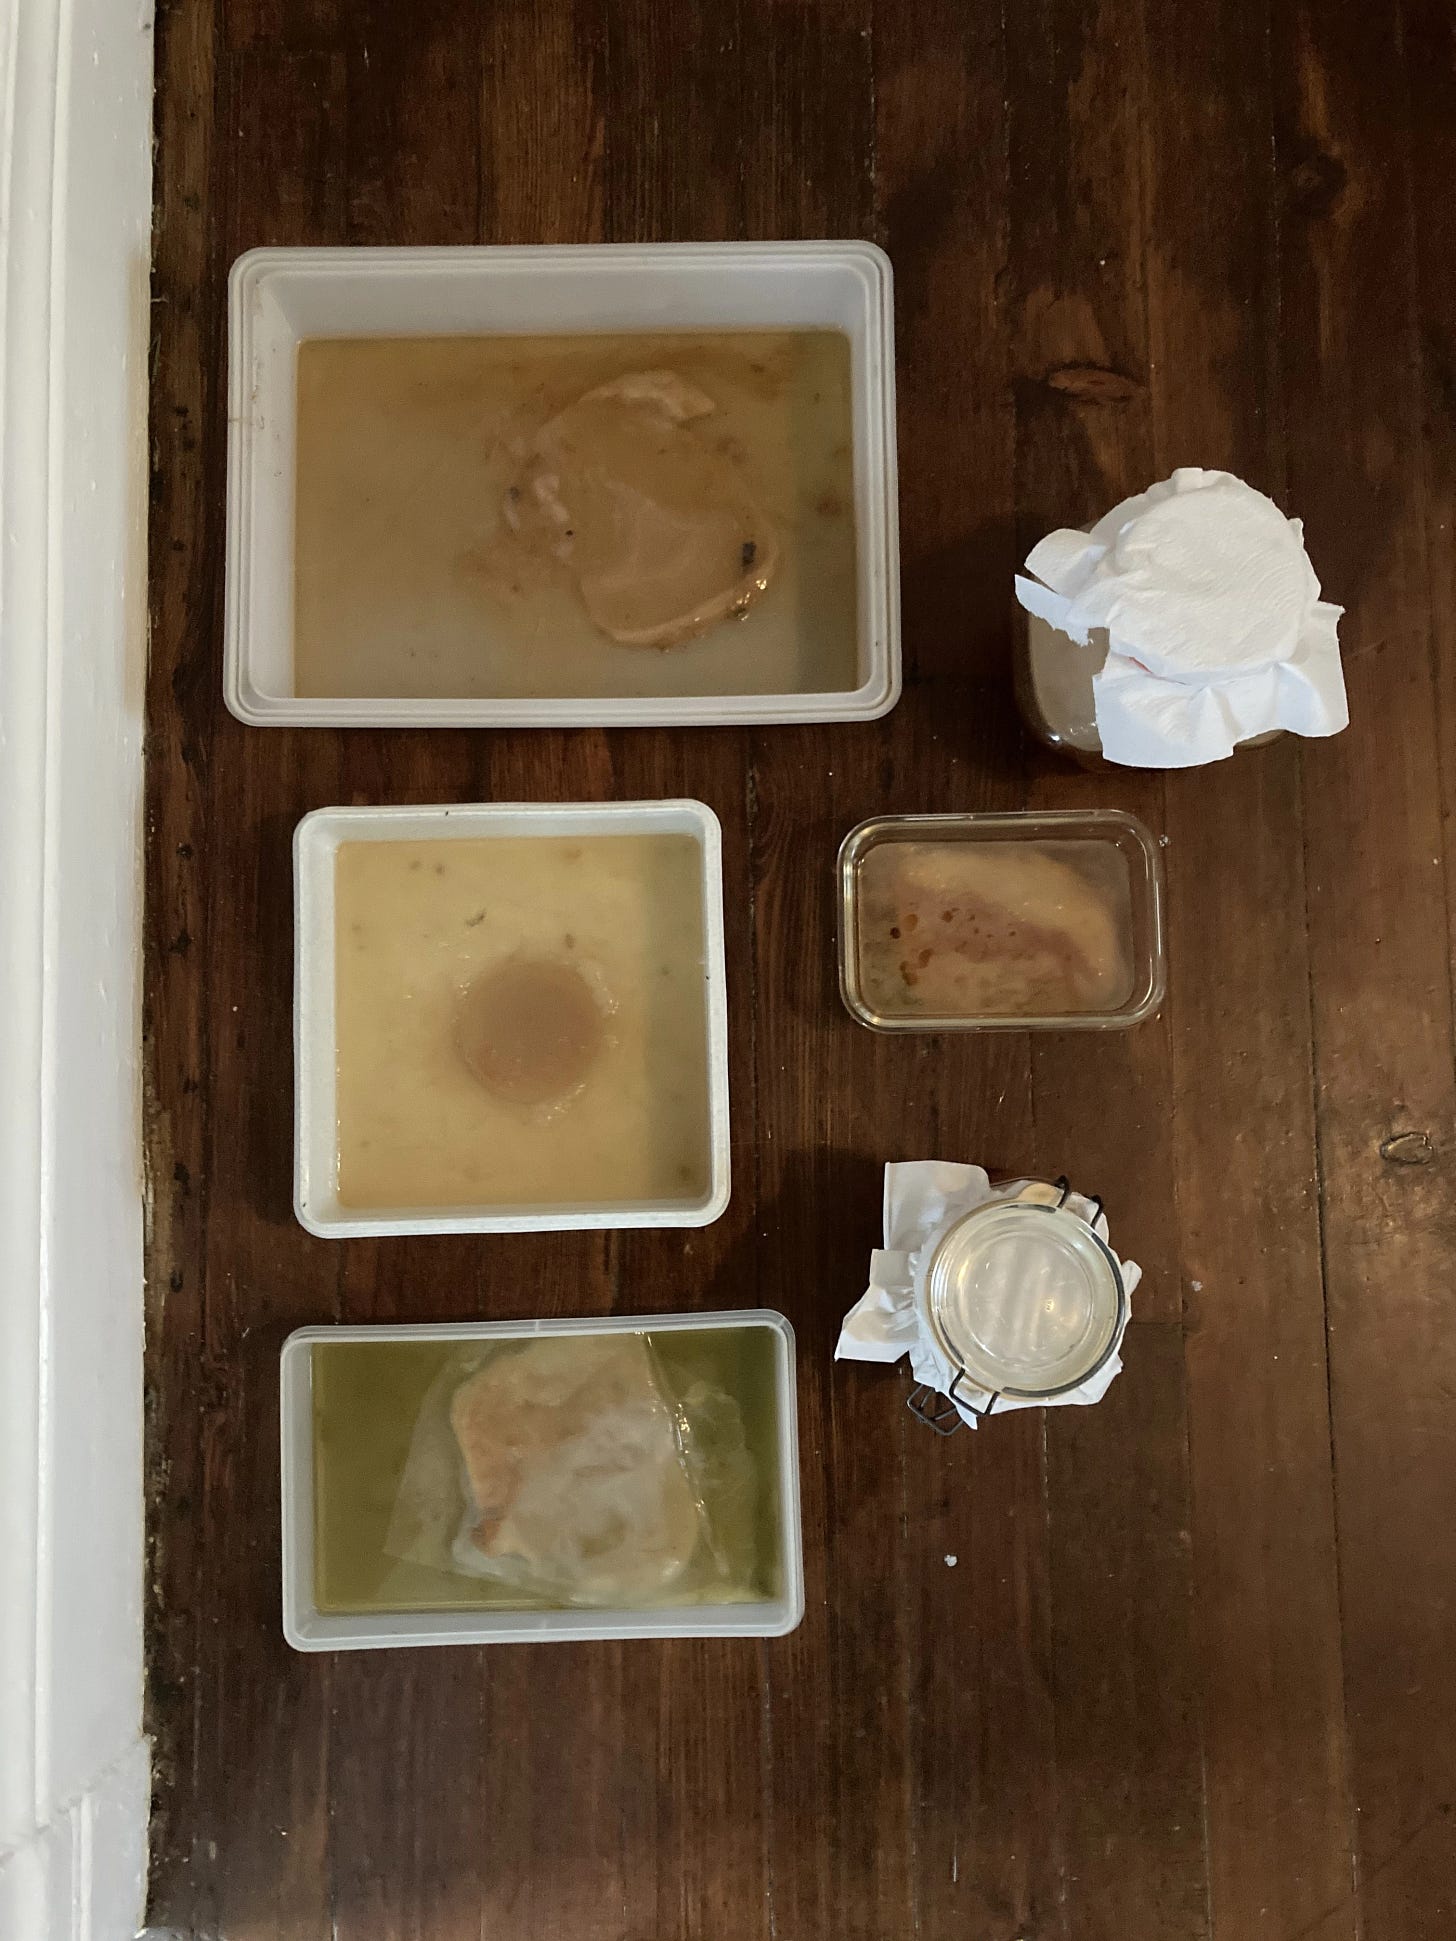
As a material, there are really no limits to how the SCOBY can be utilized. The SCOBY will expand to fit the container you put it in. For kombucha and drinking purposes, it is best the SCOBY be in a vessel that is taller than it is wide such as a mason jar or vase. For material purposes, the container can be as small or as big as you’d like and the possibility of using shaped containers can be fruitful in art making. The SCOBY will take on the color of the liquid you put it in. I make my own natural dyes when making SCOBY paper, but either way the color will depend on the type of tea or additive you use. It is undoubtedly hard to market BioArt, but that doesn’t mean we should stop making unsellable work. Most of what I made in high school and college is ultimately unsellable, for now anyway. While the most elitist part of the art world likes to think it operates on a different plane from the rest of the world, we must expect the same kind of attention to sustainability from the art world as we expect from our elected officials and corporations.
BioArt is not the only route to bring sustainability into one’s practice, but in my experience, the shift in thought and autonomy that comes with growing my own materials has been pivotal to my understanding of my contribution to the climate crisis. In my practice, addressing sustainability is no longer a question. Most of all, I am happy to be able to introduce ideas that significantly changed my practice to others who might feel the same. Sustainable materials are cool, as there are endless possibilities to things you can grow in your own home.


